
A jug of cider in Andover
When I was growing up in Andover, Maine, a jug of cider in our house went bad. My dad took a sip, paused, and said, “I think this has turned, Mother.” Then he kept drinking it.
He was a preacher, and I'm fairly sure he didn't know he was having a hard cider. But he had stumbled onto one of the oldest food-making tricks there is. I eventually got into homebrewing beer, and that cider is where my interest in fermentation started.
That memory makes me smile. For a batch at home, though, start with juice intended for the recipe and a controlled process. A forgotten jug with an unexpected smell is no way to establish that something is safe to drink.
Choose the batch before the equipment
Read the American Homebrewers Association's cider tutorial and choose a beginner recipe. A gallon is a useful scale to consider, provided the fermenter has the headspace that the method requires. A gallon of juice needs more room than a gallon jug allows.
Set out the recipe beside your equipment list before shopping. A clean work area, somewhere steady to keep the fermenter, and a place for your notes will be useful long before there is anything to taste.
Give the yeast the right conditions
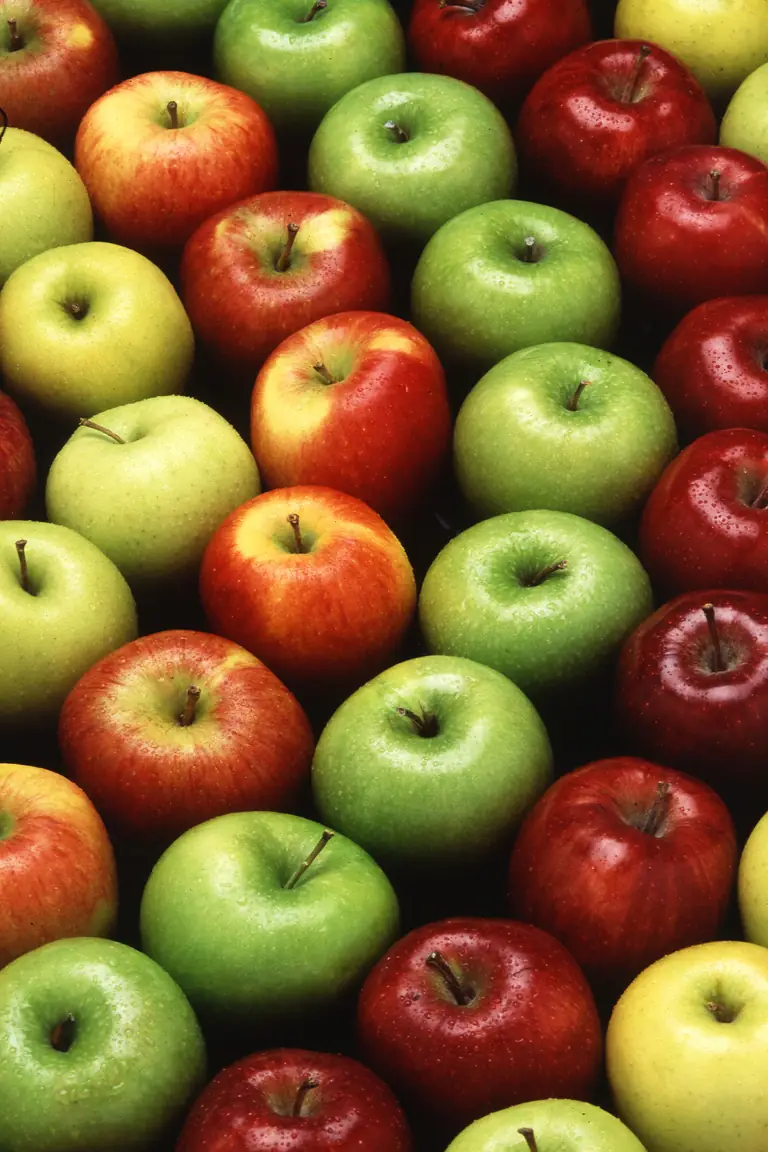
- Check the juice. Use the recipe's apple juice or cider. Avoid preservatives such as potassium sorbate or sodium benzoate that interfere with fermentation; pasteurized juice can be suitable.
- Clean, then sanitize. Prepare the fermenter, funnel, airlock, siphon, and measuring equipment with brewing sanitizer according to its label.
- Measure and start. Record the starting specific gravity with a hydrometer. Add the recipe's yeast at its recommended temperature, leaving the required headspace, and fit an airlock.
- Wait with a record. Keep the batch within the yeast's temperature range. Fermentation takes weeks, and the recipe may call for further settling or maturation.
- Confirm the finish. Before packaging, verify stable hydrometer readings over several days and the expected final gravity. A quiet airlock alone does not show that fermentation is complete.
Decide how to finish it
A still cider avoids the extra step of bottle conditioning. Sparkling cider needs a complete priming method matched to the finished volume and pressure-rated bottles. Read the AHA bottle-conditioning guide alongside your chosen recipe; do not improvise a spoonful of sugar per bottle. Ordinary decorative bottles are unsuitable for pressure.
Keep the recipe and readings with the batch. If something seems wrong, ask an experienced homebrew instructor before packaging. Mold or an unidentified spoilage problem is a reason to discard a batch, not to rescue it by calling it vinegar.
Let the process be the interest
This is a project for adults who choose to make and drink alcohol, within local rules. If that does not fit your life, try roasting coffee or making an unfermented ginger drink instead. The home brewing guide also explains why homemade ginger beer and kombucha can contain alcohol. You can enjoy the apples, the season, and the making without choosing every path.
Start with a recipe and a notebook
Write the batch size, ingredients, equipment, and expected stages on a page before beginning. The useful part of a first batch is learning what you changed and what you would repeat. My dad's line still belongs to the story; a hydrometer belongs beside the fermenter.
I hope this finds you well,
Scott